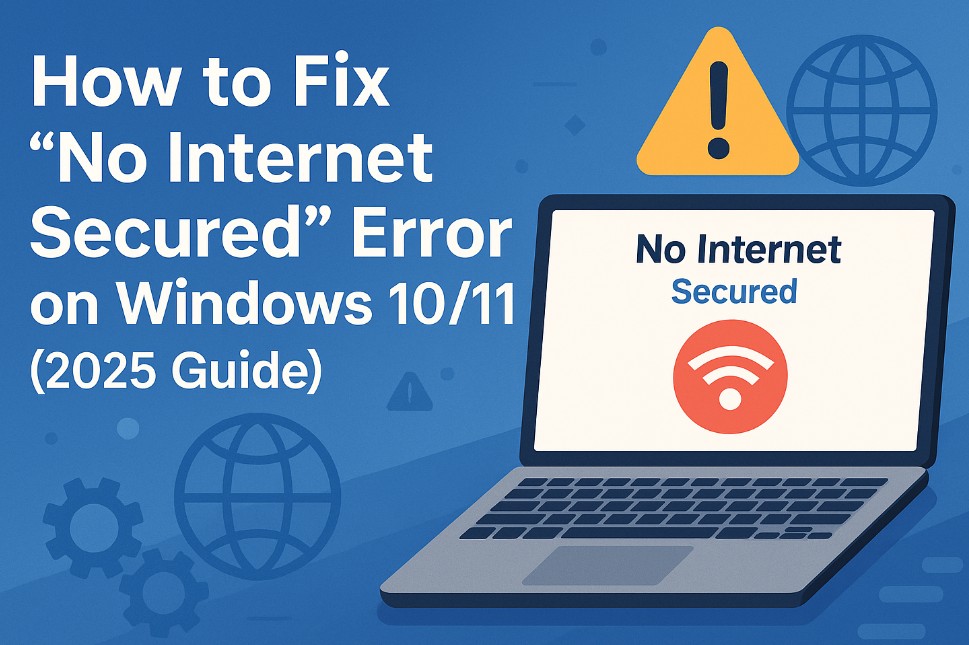
How to Fix No Internet Secured Error on Windows 10/11
Getting the dreaded ‘No Internet Secured’ error on your Windows 10 or 11 PC? You’re not alone. This issue often pops up after an update, switching Wi-Fi networks, or after a system crash. The good news? It’s usually fixable with a few straightforward steps. This guide will walk you through all proven methods, from beginner-friendly to advanced solutions.
What Does “No Internet Secured” Mean?
This error typically appears in your Wi-Fi settings. It means your device is connected to a wireless network, but the internet isn’t accessible. Windows flags it as “secured” (i.e., password-protected) but still blocks traffic. Common causes include:
- Incorrect IP configuration
- Driver or system updates
- Antivirus or firewall interference
- Router conflicts or DNS issues
 1. Restart Your PC and Router
 1. Restart Your PC and Router
Start with the basics. Restarting your modem/router and PC clears temporary glitches and resets network settings.
2. Forget and Reconnect to the Network
Go to Settings > Network & Internet > Wi-Fi > Manage Known Networks. Select your current network, click “Forget,” and then reconnect with the correct password. This refreshes the connection profile.
3. Update Your Network Adapter Drivers
Outdated or corrupt drivers can cause connection issues. Open Device Manager, expand “Network Adapters,” right-click your adapter, and select “Update driver.” You can also visit the manufacturer’s site or use Microsoft’s driver update guide.
4. Set Manual IP and DNS Settings
Sometimes, automatic IP settings cause conflicts. Try this:
- Go to Settings > Network & Internet > Wi-Fi.
- Select your network, click Properties.
- Scroll down to IP Settings > click Edit.
- Switch to Manual and input IP and DNS (e.g., Google DNS: 8.8.8.8 and 8.8.4.4).
5. Disable IPv6
Some networks don’t support IPv6 properly. To disable:
- Open Control Panel > Network and Sharing Center > Change adapter settings.
- Right-click your Wi-Fi connection > Properties.
- Uncheck Internet Protocol Version 6 (TCP/IPv6).
6. Use the Built-in Troubleshooter
Let Windows try to resolve it automatically:
- Go to Settings > Update & Security > Troubleshoot.
- Choose Internet Connections and run it.
You can also try the Microsoft Network Troubleshooter online.
7. Reset TCP/IP Stack
Open Command Prompt as Administrator and type:
netsh winsock reset
netsh int ip reset
Then restart your computer.
8. Flush DNS Cache
Another helpful Command Prompt fix:
ipconfig /flushdnsThis clears any corrupted DNS entries causing the error.
9. Check Firewall & Antivirus Settings
Security software can block internet access unexpectedly. Temporarily disable any third-party antivirus/firewall. If the internet returns, adjust its rules or switch to Windows Defender.
10. Check for VPN or Proxy Conflicts
Using a VPN or proxy may interfere with local DNS resolution. Disable any active VPN and navigate to Settings > Network & Internet > Proxy to turn off manual proxy settings.
11. Change Wireless Channel on Router
Routers broadcasting on crowded channels may create interference. Access your router settings (typically at 192.168.1.1) and switch the Wi-Fi channel from Auto to a less congested one (e.g., 1, 6, or 11).
Watch: Fix No Internet Secured Error on Windows 10/11
Prefer watching instead of reading? Here’s a helpful video walkthrough:
What If the Issue Is Still Not Resolved?
Here are a few more things you can try:
- Use an Ethernet cable to bypass Wi-Fi
- Reset your router to factory settings
- Test using another device on the same network
- Contact your Internet Service Provider
Bonus: Fixing the Issue on Mobile Devices
If you see a similar issue on Android or iOS (Wi-Fi connected but no internet), try:
- Toggle airplane mode on/off
- Forget and reconnect to Wi-Fi
- Restart the device
- Reset network settings (as a last resort)
Need More Help?
Check out more resources in our Tech Fixes category or visit Microsoft’s full network troubleshooting hub.
Don’t let the ‘No Internet Secured’ message stop you from browsing, working, or gaming. Start with the simple steps and work your way through the list — most users find success within 10–15 minutes.